Heading
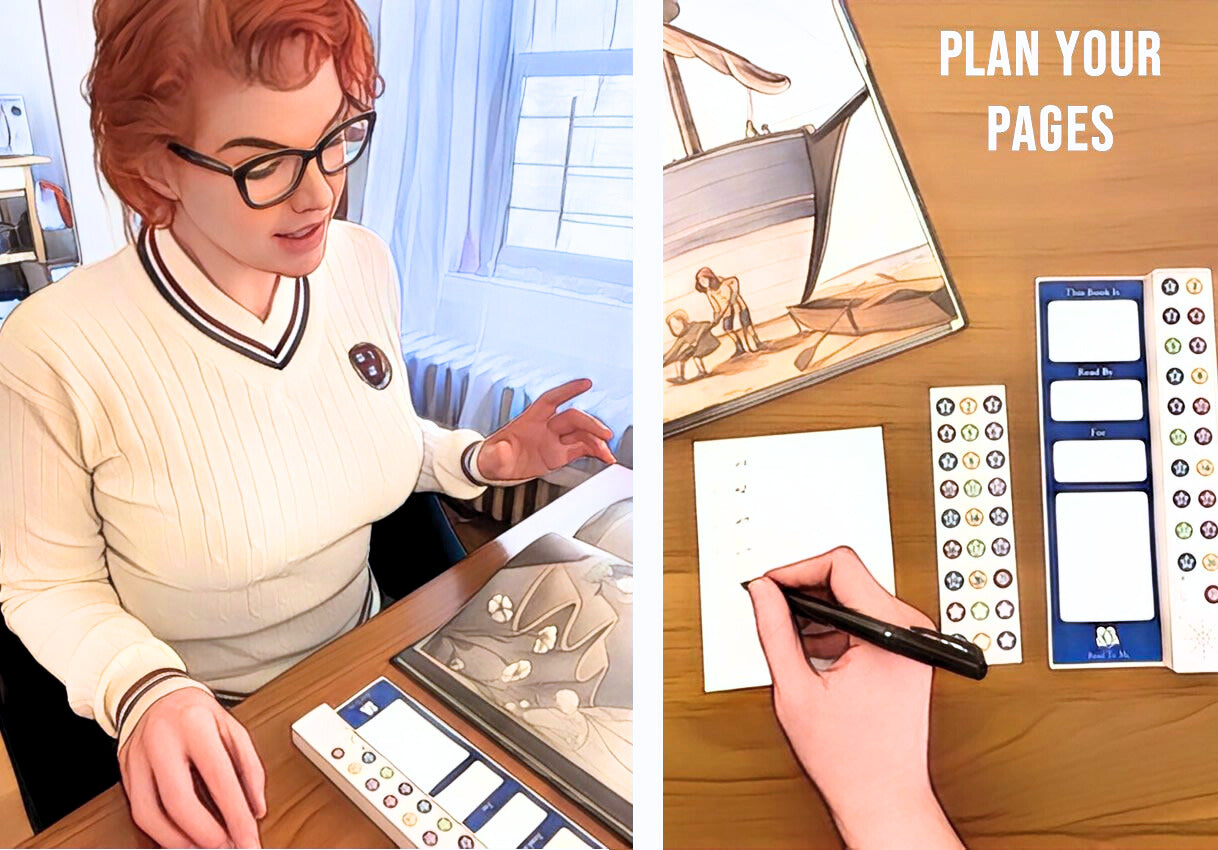
Plan Your Pages
There are 21 buttons on the device. For books which are longer than 21 pages (many) we suggest using one button per page spread, or per 3 pages.
Start where you like, it doesn’t need to be page #1. Custom stickers allow you to show exactly where in the story you want the button to be pressed.
Button 21 is also recordable & playable!
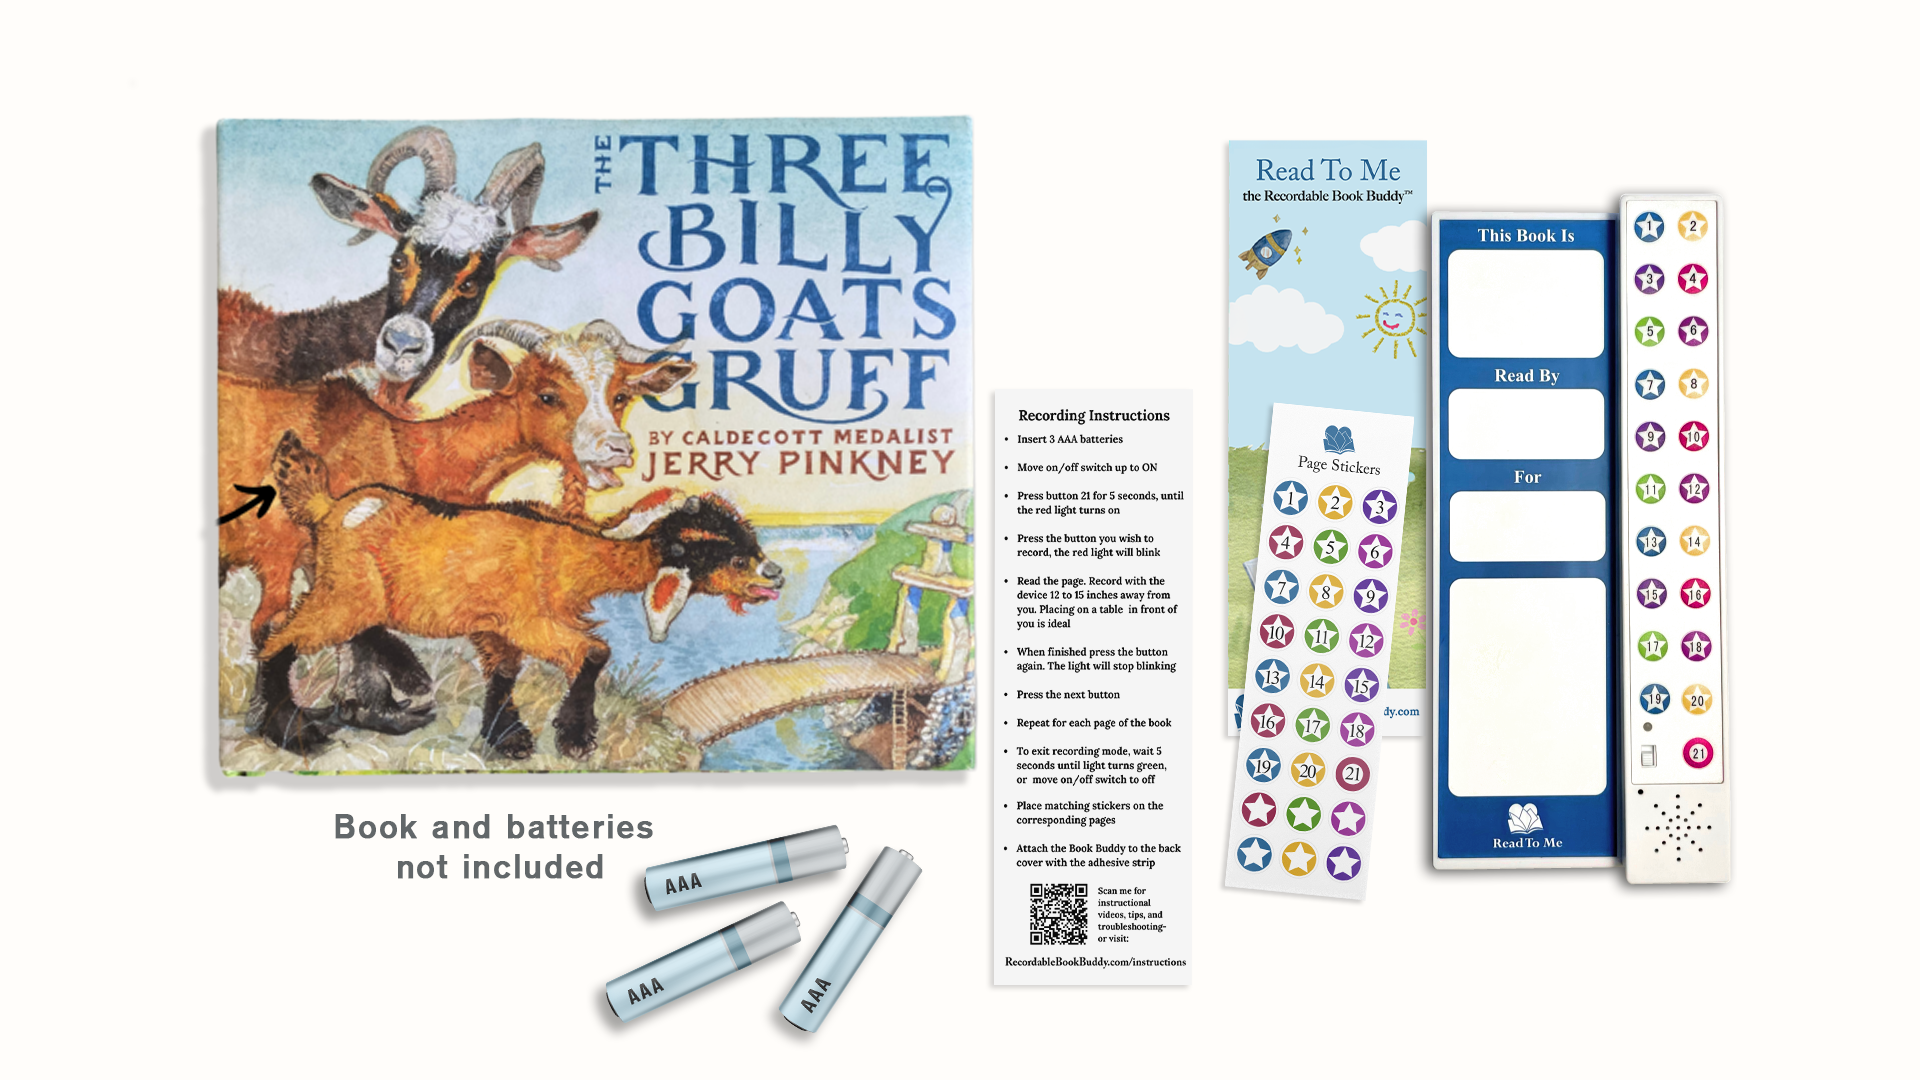
Insert The Batteries
The Book Buddy requires 3 AAA batteries (not included.)
Move ON/OFF switch UP to turn On.
Note: The green mode light will not light if there is nothing recorded on the device yet. This is ok!
Once the device has been recorded, the green light will blink three times when it is turned on.
Recording
Important: Placement and Recording Volume
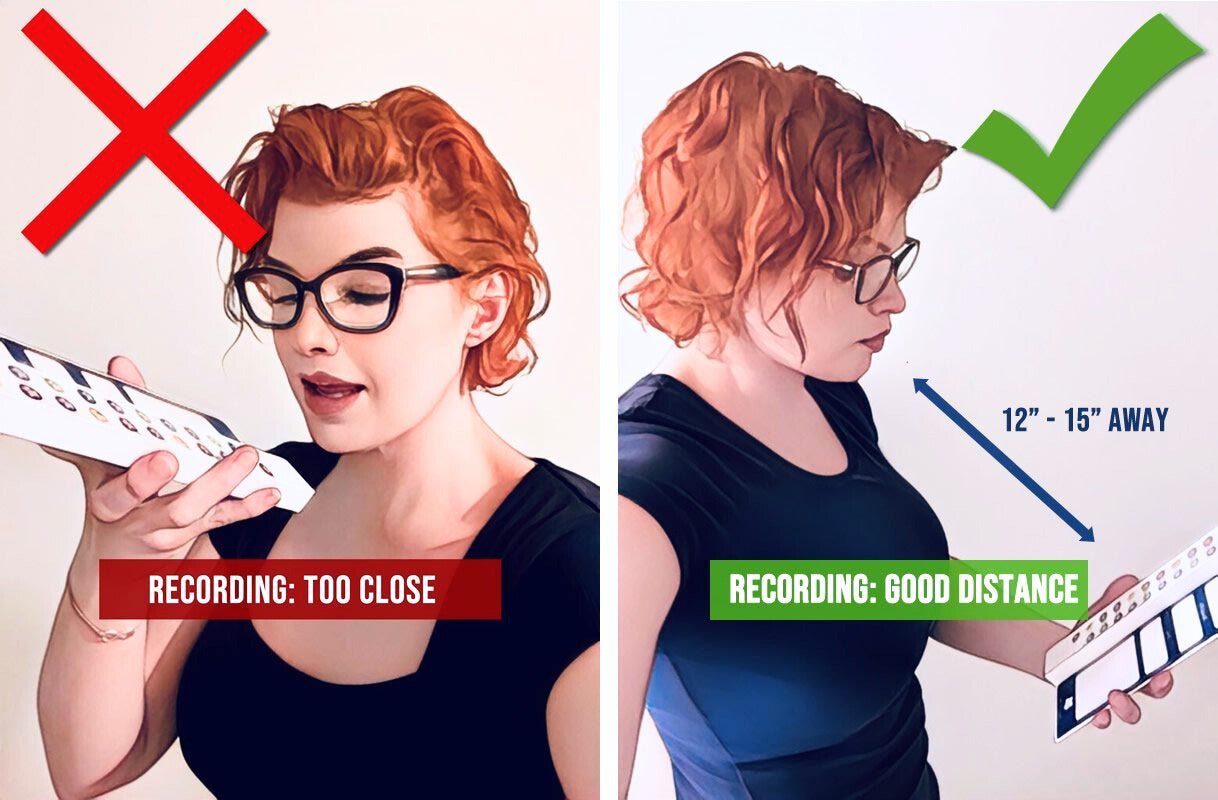
Record with the device 12 to 15 inches away from you. Placing on a table or desk in front of you is ideal.
Do not record with the microphone close to your mouth, or playback volume will be extremely loud.
The Book Buddy plays back at the same volume it was recorded. If the volume is too soft or too loud, you can move the device closer or farther away from you.
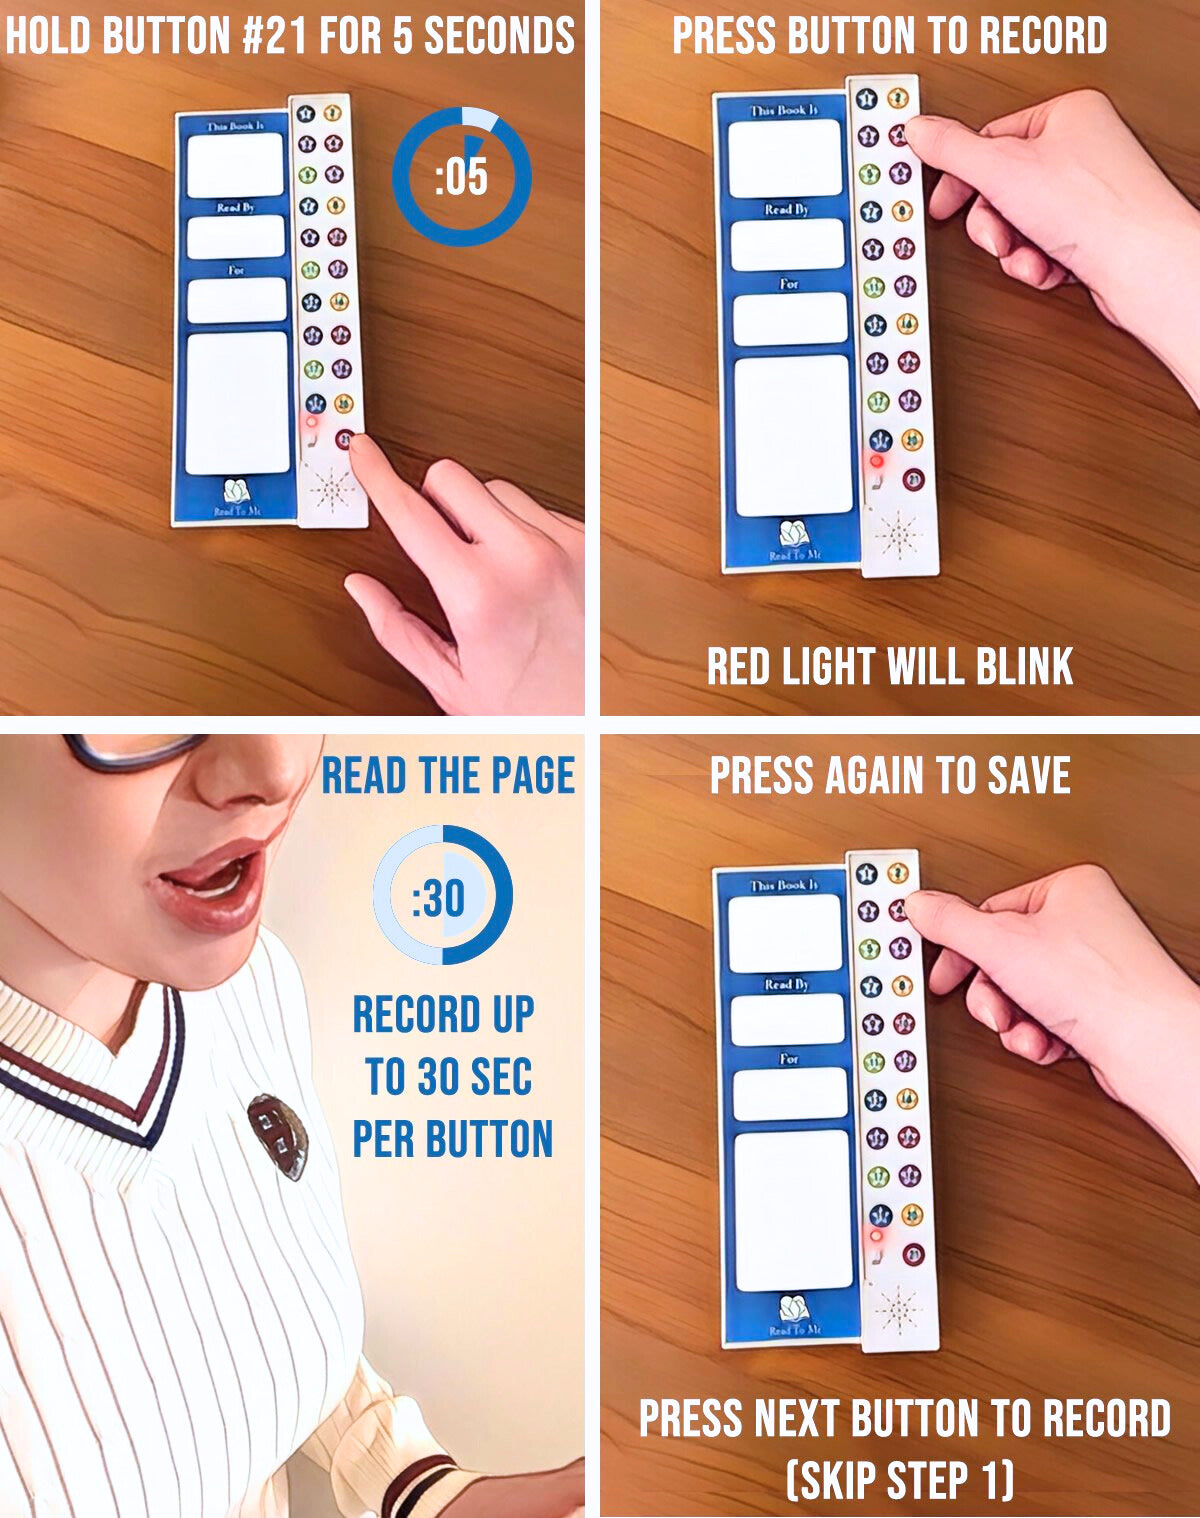
Press Button 21 for 5 seconds, until light comes on
This activates recording mode.This function is hidden to prevent accidental erasure.
Press the button you wish to record: light blink
The red light will blink, indicating it is actively recording.
You have 5 seconds to choose a button to record to, else recording mode will be exited automatically.
If you entered recording mode in error: simply wait until the mode times out, or turn the device off and back on.
Read The Page
You will have up to 30 seconds of recording time for each button, but you can end recording and move to the next button as soon as you wish.
Press Next Button- Begins recording immediately
You only need to press button 21 for 5 seconds again if you have exited recording mode and red light is off.
Repeat for each page (or page spread)
Use remaining time or buttons for personal messages, songs, or whatever you like!
When finished, wait 5 seconds to exit recording mode. Light will turn off.
You also may turn off the device to exit recording mode. Recording will be saved.
Finishing Up
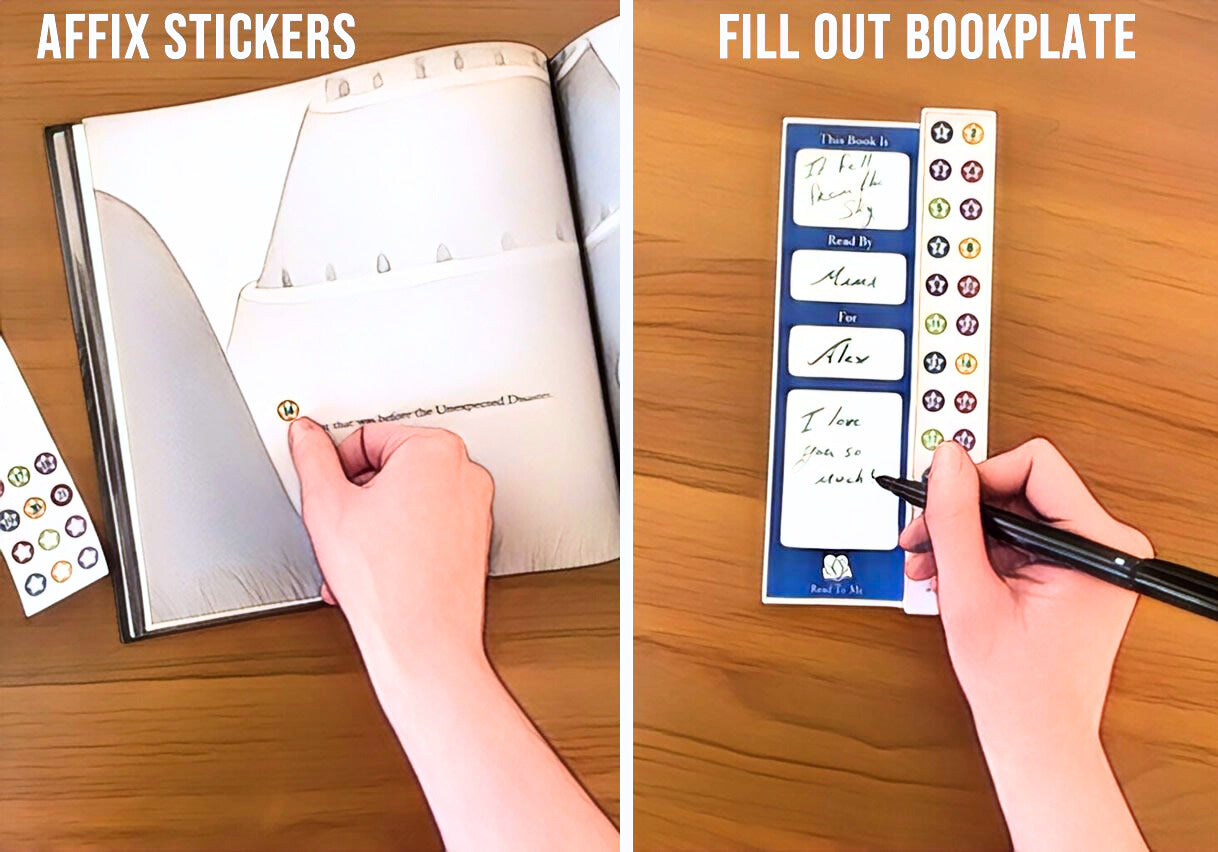
Place matching stickers on corresponding pages
This shows the child exactly where and when to press each button.
Tip: Place stickers near blocks of text for easier identification.
Fill out the bookplate label
Here is room for a dedication, book title, and who is reading the book.
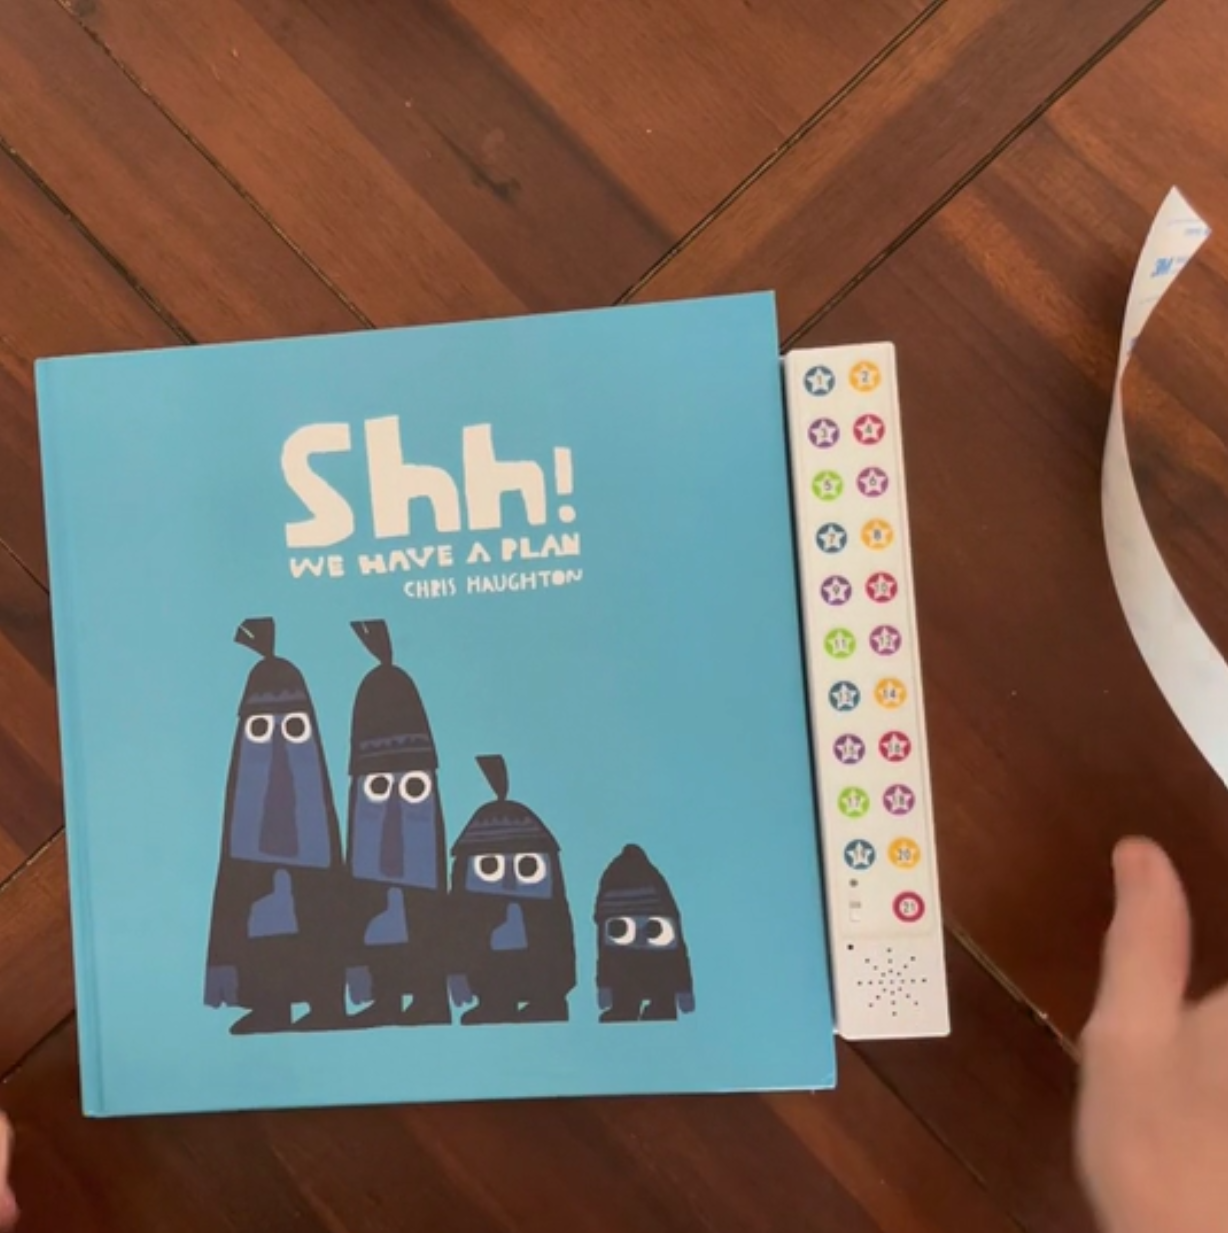
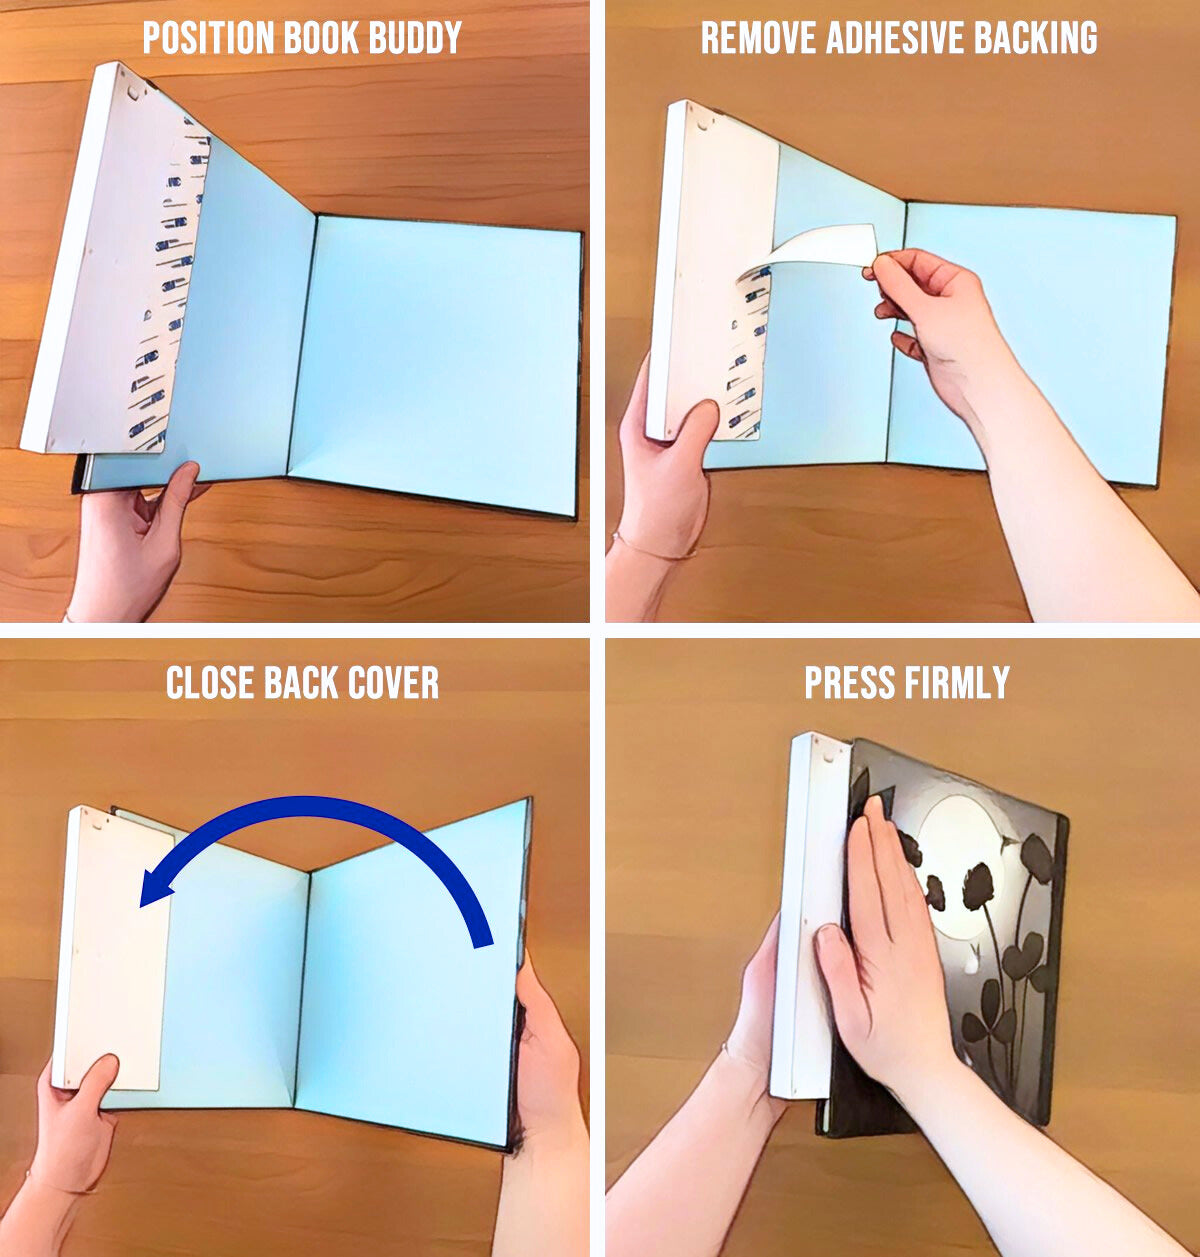
Attach Book Buddy to the back cover with the adhesive strip
For books with no dust jacket:
Make sure there is room for the book pages and cover to close completely.
See video below for tips on how to easily do this.
For books With a dust jacket
If you have a dust jacket, trim the back inside flap until it is about 1/2 inch from the cover edge. Secure with tape.
Attach the Book Buddy as outlined above.
See video below for an in depth how-to.
Video Instructions
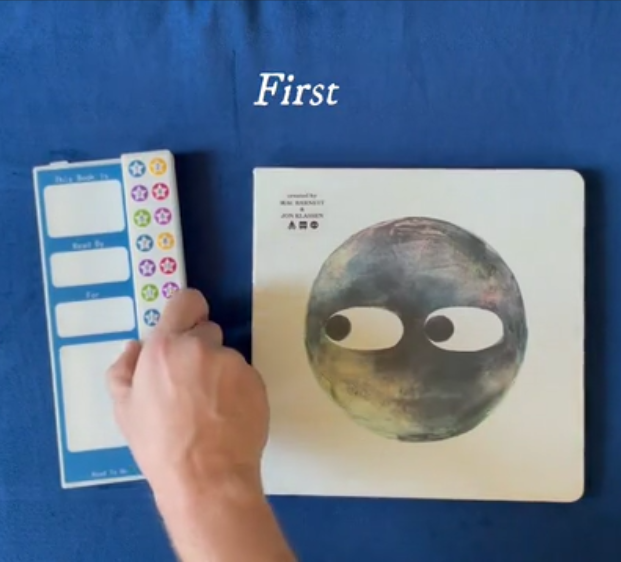
How To Attach your Book Buddy
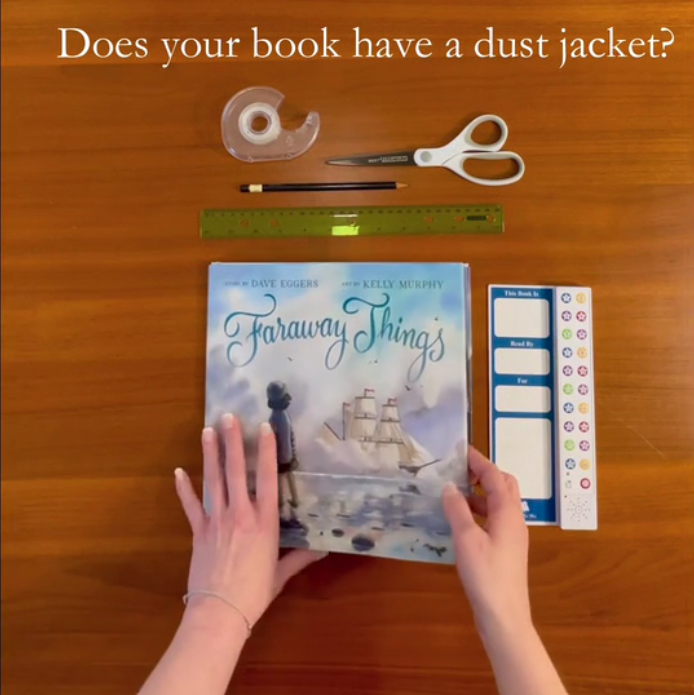
For Books With A Dust Jacket
